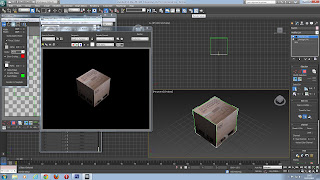
once we had unwrapped are box we had to preview the net and then save it as a jpeg, once it is saved as a jpeg you can open it in photoshop this is when we can start preparing the uvw map for texturing. the first thing we did was copy the base layer (ctrl + j) and then desatsitise it. once this was done all we had to do was invert it (ctrl + i) and begin adding the ruler lines.
i got the textures off of moodle and began to apply them over the net.
i saved my newly textured to my usb drive so that it wouldn't be deleted if my computer crashed (saved as a photoshop file) once back into 3ds max i applied the texture using the materiel shader editor (M short cut key)
after texture is applied i took a few renders and then added shadows using a target light.


No comments:
Post a Comment